Feature your business, services, products, events & news. Submit Website.
Breaking Top Featured Content:
How to Print an Envelope
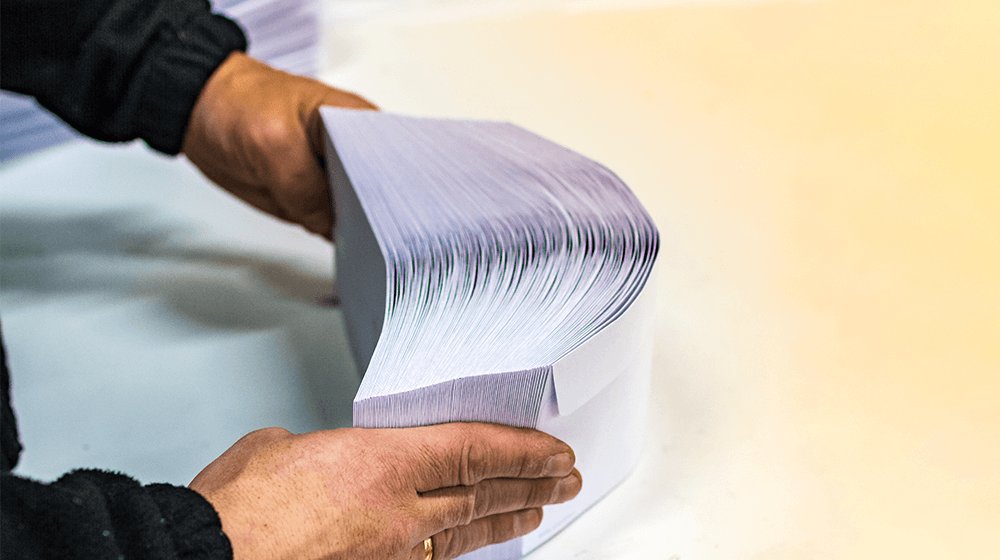
Creating an addressed envelope can be accomplished in multiple ways, but one of the most popular methods involves using software like Microsoft Word, which offers user-friendly features that make the task straightforward and easy to complete.
In order to print an address on a single envelope, you can choose a computer program like Microsoft Word, where you input the desired information and then load your envelope into your printer’s paper input tray.
Alternatively, you can use the Mail Merge feature to print addresses on a sheet of adhesive labels, which you load into your printer’s paper input tray. After printing, you then proceed to carefully attach each label onto the corresponding envelope.
Each of these printing options has its pros and cons. Some small business owners feel that the direct printing method makes an envelope look more professional as part of their direct mailing services. Some prefer to use labels for their mail-out marketing ideas. Of course, it’s a matter of personal preference for you to choose after you’ve researched all the options.
Print Envelopes: What to Know Before You Begin
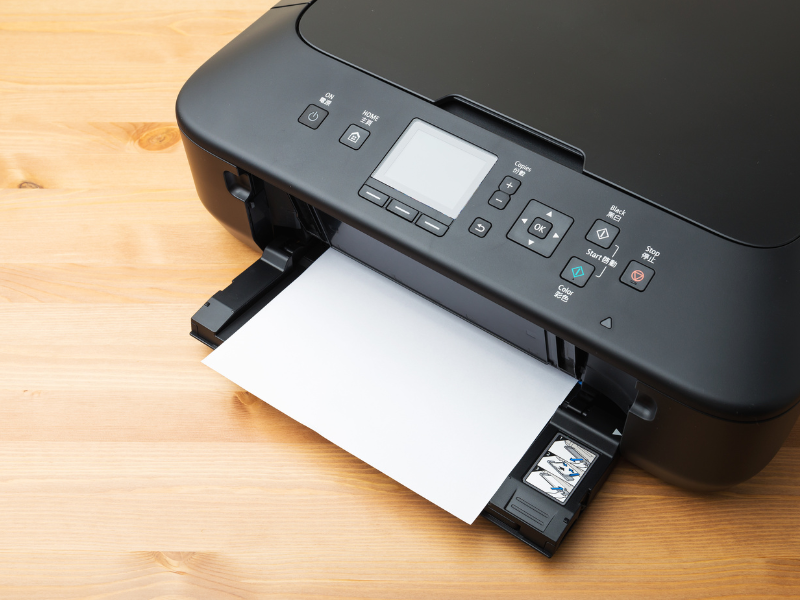
Important considerations for how to print an envelope include steering clear of envelopes with a metal clasp, as these can interfere with the printing process and may lead to a printer jam.
Similarly, if you are using a laser jet printer, avoid heat-sensitive envelopes or those with self-stick closings, which can melt due to the heat generated by the printer.
Instead, opt for envelopes that are sealed by licking or wetting. Always ensure that the envelope flap is closed when printing to avoid potential issues with adhesive build-up inside the printer.
How Do I Print An Envelope? Printing Options
| Direct Envelope Printing | Label Printing | Creating Envelope Template | |
|---|---|---|---|
| Software Needed | Microsoft Word/Publisher | Microsoft Word/Publisher, Excel for Mail Merge | Microsoft Word/Publisher |
| Materials Required | Envelopes, Printer | Label sheets, Printer | Envelopes, Printer |
| Number of Envelopes/Labels Per Batch | Usually one; up to ten with some printers | Up to 30 | Depends on printer |
| Additional Features | Can preprint return address | Can pull addresses from Excel, reusable templates | Reusable, customizable styles and sizes |
Please note that the number of envelopes or labels per batch might vary depending on the specific printer model and type of envelopes or labels used.
- Directly printing the address on the envelope is one option, although this typically allows for only a single envelope per print operation. However, there are some printers with specially designed trays that allow for multiple envelopes to be loaded and printed simultaneously, a feature often used when preprinting the return address on a stack of envelopes.
- Inside the printer tray, you’ll notice hash marks indicating the limit for the stack height to avoid overloading and causing a printer jam.
- Choosing to use labels provides the opportunity to print more addresses in one go – usually up to thirty. You can utilize the Mail Merge feature to conveniently pull addresses from an Excel sheet. If you don’t have addresses stored in an Excel document, you can manually create templates for mailing address labels and input the necessary information.
- Once these templates have been saved, they can be accessed and used for future print jobs. You also have the flexibility to choose between white or clear labels depending on your preference.
- The printing method you choose will largely depend on your personal preference, as well as the type of printer and printer driver you are using.
- Different printer drivers may have specific printing options and provide different sets of instructions, so it’s important to understand the capabilities of your printer before deciding on a method.
- A crucial part of printing envelopes is ensuring there’s a valid return address. Without it, there’s no reliable way of knowing whether or not a mailing has reached its intended destination.
- Irrespective of the printing method you choose, the return address is an essential part of the envelope.
- The Mail Merge feature might seem intimidating at first due to its various steps, but it can be a significant time-saver by eliminating the need to manually type in each address.
- Mail Merge is typically used to print addresses on labels, but it can also be useful if a printer has a special drawer for envelopes that allows bulk loading.

How to Print an Envelope in Microsoft Word
There’s an array of envelope sizes to choose from, and before loading your chosen one into the printer’s paper input tray, the first important step is to select the right software for envelope formatting.
Of the many software options, Microsoft Word stands out as the most frequently used due to its familiarity and user-friendly interface.
The subsequent information will guide you on how to set up the page for envelope printing using Microsoft Word on a Windows 10 operating system, leading you through the selection of appropriate settings for a professional, neatly printed envelope.
- Enter Your Return Address. Open Word, and under File, choose Options. From there, go to Advanced. In the menu that appears, scroll to General. Type your return address in the mailing address box. You can choose a different font if you’d like. Make sure you use the mailing address and not the physical address (if those are different). Word will automatically save the return address. Click OK.
- Select Envelopes from the Mailings Tab. In the Mailings tab, under the Create group, click on Envelope Options.
- Go to the Envelope Options Tab. You’ll have a lot of choices in the Envelope Options tab. The standard business envelope size is 10.
- Select the Envelope Size. Determine the envelope size you will use for your mailing. Typically, you will select size 10 for a standard business envelope. Alternatively, you can opt for a custom measurement. If you choose Custom for the envelope size, remember that the Height refers to the “short side” of the envelope, while the Length corresponds to the “long side” of the envelope.
- Choose from the Printing Options Tab in the Dialog Box. The way the envelope is placed in the printer tray varies from printer to printer. Since your computer is most likely already connected to your printer, when you choose the Envelopes button you should see an image that depicts the envelope placement. For example, face down or face up, left or right side. Look for the lines showing the location of the envelope flap.
- What’s Next? Load an envelope and close the tray. Type in an address and print the envelope as a test. Check the envelope, making sure the address isn’t upside down.

How to Print Addresses on Labels
- Go back to Word, and using the Mailings tab, choose Labels. The most common label size that is used has 30 labels on a page. Each label is one inch long and 2.63 inches high. Envelope sizes don’t matter if you use labels.
- When using the Labels tab, you’ll find a list in the window that opens. You can enter the brand name of the labels, including the type and product number.
- This info will automatically create a template for you to use, making it easy to get the information into the delivery address field. You can save each address page.
- You can also create a savable labels template in Word as a document. In Word, open New. In the search bar, type Labels. You’ll see a number of choices. Enter your addresses there, and save each page as a Word document.
- The next time you have a mailing to send out, simply switch the printer paper to the label sheets, select a pre-saved document from your address templates, and then click Print on the file tab.
TIP: How about creating a label that includes not just the recipient’s address, but your return address as well?
This is indeed possible. Some label sheets come with just six labels, which might seem limited at first glance. However, these labels are significantly larger, providing ample space to include both the return address in the upper left corner and the destination address. This method of labeling ensures all necessary information is present on a single, easy-to-apply label, streamlining your mailing process while ensuring a professional appearance.

How to Do a Mail Merge for Envelope Labels
In order to carry out a mail merge effectively, you must first have a comprehensive Excel list containing all necessary address information, such as the company or individual’s name, street address, city, state, and zip code. When creating this list in Excel, make sure to use Headers to label each category of information clearly, ensuring your data is well-organized and easily accessible.
If you already have your Excel list prepared, here’s a step-by-step guide on how to use the ‘Mailings’ tab to execute a mail merge in Microsoft Word. This handy tool simplifies the process of merging your addresses with your label or envelope template, ensuring a smooth and efficient printing process.
- Open a blank Word document. Go to the Mailings tab and select Start Mail Merge. From there, you’ll see a drop-down menu. Choose Labels. Then, choose the type (size) of labels you’ll be using.
- Go back to the Mailings options tab. This time, choose Select Recipients. From there, you’ll see a drop-down menu, and you’ll choose to use an existing list. Once you’ve chosen that, Windows File Explorer will appear. Select your file and click Open.
- Now the Select Table window will appear. Look over the information in the box, making sure the appropriate boxes are checked to correspond with the information. Make sure also that the box is checked alongside “First row of data contains header columns.” Choose your list, and click OK.
- Select your first label. Go back to the Mailings options tab and click Address Block. The Insert Address Block window appears. Click on Match Fields. Check the information and click OK. You’ll get a print preview. If that looks good, click OK.
- Go back to the Mailings options tab. This time choose Update Labels. The words Address Block should appear in each label. Now go back to Mailings and choose Finish and Merge. There will be a drop-down menu. Choose Edit Individual Documents. Next, the Merge to New Document window appears. Choose All, and click OK. Print.
How to Print an Envelope in Google Docs
Within Google Drive, go to Google Docs. From there, go to Find a Template, and choose Envelope from the Template gallery. You’ll have a number of envelope options.
Now you’ll make your envelope template. Using OpenOffice (or a similar tool), upload a document to Google Drive, and open that with Google Docs. Each address field will appear as a dialog box.
Type in the information for the return address dialog box and the delivery address dialog box. Print the envelope. Check to make sure the information from each dialog box is in the correct location on the envelope.
How to Merge or Make an Address List in Google Docs
When using Google, your address list is typically on a spread sheet, or Google sheet. From Google Docs, go to and choose Add Ons. From there, you can select Avery Easy Merge.
Avery is the top manufacturer of stick-on address labels. Install the Avery Easy Merge Add-On.
If you don’t already have an address list, you can create labels. Once you’ve installed the Avery Add On, open a new Google Doc. Click Add Ons and search for and choose Avery. On the next screen, you’ll see a section called Column Headers.
Under Column Headers, click on each one that you want to add into the label, such as Name, City, etc. Each time you click on a column header, the header will appear in the blank label. Working within the label, you can move the column headers, choosing to center the information or keep it flush left, for example. This way, you can format the labels to appear as you prefer them to look on the envelopes.
Integrating Envelope Printing with Digital Marketing Tools
- QR Code Integration: A modern approach to link physical mailings with digital content is through QR codes. These can be printed on envelopes, leading recipients directly to websites, promotional pages, or interactive content. This method not only enhances engagement but also provides a direct way to measure the impact of a physical mailing campaign.
- Tracking Links for Measurable Impact: Implementing tracking links in physical mailings helps in measuring their effectiveness. By using URLs or QR codes that lead to specific landing pages, businesses can track visitor data and gauge the success of their direct mail campaign in driving online traffic.
- Coordinated Design Strategies: Aligning the visual design of physical mailings with digital marketing materials, such as matching the envelope design with online ad campaigns or social media themes, creates a seamless brand experience. This approach helps in reinforcing brand identity and messaging across multiple platforms.
Legal and Postal Regulations for Envelope Printing
- Size and Weight Compliance: Adhering to the size and weight guidelines set by postal services is crucial. Envelopes that exceed these specifications may incur additional postage costs or may not be delivered. Businesses need to be aware of these limits to avoid unnecessary expenses and ensure delivery.
- Proper Address Formatting: The positioning, dimensions, and legibility of the printed address are vital for the automated sorting systems utilized by postal services. It is crucial to ensure that addresses are formatted correctly and are easily readable to facilitate the efficient processing and delivery of mail.
- Adherence to Content Regulations: It’s important to be mindful of what is being sent through the mail. Certain materials may be restricted or prohibited, and businesses must ensure that their envelope contents comply with postal regulations to avoid legal complications.
- Understanding International Mailing Standards: For businesses sending mail internationally, understanding and complying with the varied regulations of different countries is essential. This includes customs declarations and being aware of international postage rates and content restrictions.
What program do I use to print envelopes?
There are more envelope print programs in addition to Word and Google Docs.
- Envelope Maker. This is one of the easiest programs to use to print an envelope. You will simply use a PDF which is already templated with places to type in the information for the return address and delivery address. Using the PDF, you can also choose the size for the envelopes. And you can choose the options for lettering style using the font button. Once you’ve populated all the fields of the PDF, choose Print the Envelope.
- Somacon. This is another simple program for printing envelopes. There’s one envelope size for dimensions, the #10 business envelope. Fill in the blanks of each box and print the envelope.
- Tweaking. This is a free software program that leads you step-by-step through the envelope options.
- SSuite Envelope Printer. This free software offers straightforward instructions and a variety of envelope design choices.
- Dataware Envelope Printer. This is a free software program that allows the user to fill in a text box with address information. It is easy to populate the address box, and there are many design options.
- Your printer. Some printers have as a feature an internal print driver which allows the user to choose Envelope as the object to be printed using a printing options tab. If so, you’ll have to adjust the paper size and make sure you place the envelope in the tray correctly. The print driver may direct you through the printing options tab choices all the way through the process, from page size to click Print.
How do I make an envelope template?
For frequent envelope print jobs, consider creating and saving a template in Microsoft Word or Publisher, which will significantly streamline your future tasks.
The steps to create an envelope template in either of these programs are quite similar, with each offering a variety of style and size options to match your specific needs.
To begin creating a template in either Word or Publisher, open the software and choose ‘New.’ A new window will appear, and within that window, you’ll find an option to ‘Search for Online Template.’ Enter the term ‘Envelope’ into this search box, and several envelope template options will appear for your selection.
These templates will typically have designated areas for you to input both the return and delivery addresses, allowing for quick customization.
Why won’t my printer print an envelope?
Despite careful preparation, there may be instances where clicking ‘Print’ doesn’t yield the desired results, and your envelope print project doesn’t proceed as expected. In such situations, after ensuring you’ve followed the correct steps, you might need to reach out to a printer support technician for assistance. All printers have unique task options and requirements, and technical support can help you navigate these specifics. Alternatively, you could also check the printer manufacturer’s website, which often contains useful troubleshooting guides and tips to help you rectify common printing issues.
Meanwhile, here’s a quick troubleshooting guide:
- Check to make sure you changed the paper size to the dimensions of the envelope size.
- Make sure you haven’t incorrectly entered the dimensions of the envelope size.
- Check that your printer isn’t sending you an error note like “out of paper.” This may be because you have only placed one envelope in the tray access. That single envelope is so light it doesn’t register. Open the tray access and stack up to ten envelopes, taking care not to exceed the height stack guide on the tray.
- The error could be related to how the envelope is placed. Make sure the edge of the envelope is securely positioned against the correct side of the printer tray. Additionally, check whether the envelope is oriented top down or top up.
- Most commonly, if using an inkjet printer, be sure the envelope is face down. Using a laser printer, it should be face up. Where the envelope edge is placed is different on each type of printer.
Image: Depositphotos
This article, “How to Print an Envelope” was first published on Small Business Trends

