Feature your business, services, products, events & news. Submit Website.
Breaking Top Featured Content:
DIY Pebble Heart Wall Decor
If you’re a big time crafter, you might find yourself running out of ideas from time to time. Sometimes, it’s hard to think of something new and different enough to pique your interest, especially if you complete projects all the time. However, there is inspiration everywhere. That means, if you just look around and think seriously, you can find an idea for a new craft in just about any location or situation.
In fact, nature is hugely inspirational, and it can give you ideas for new twists on standard projects. Take, for example, pebble heart wall décor. That might not bring a specific image to mind at first, but the more you think about, the more you can formulate the idea. Why don’t we explore the steps, which are pretty simple, so you can decide if you’re ready to get started.
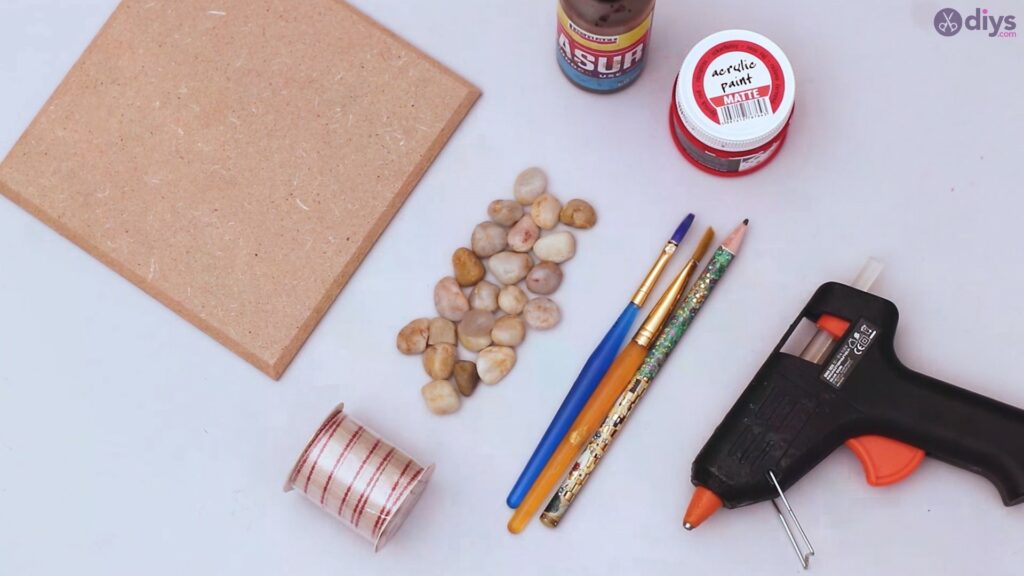
Materials you’ll need for Pebble Heart Wall Decor:
- wood board
- pebbles
- ribbon
- spot glaze
- red acrylic paint
- paint brush
- pencil
- scissors
- glue gun
Step by step instruction to craft a cool wall decor:
Step 1: Prepare your board
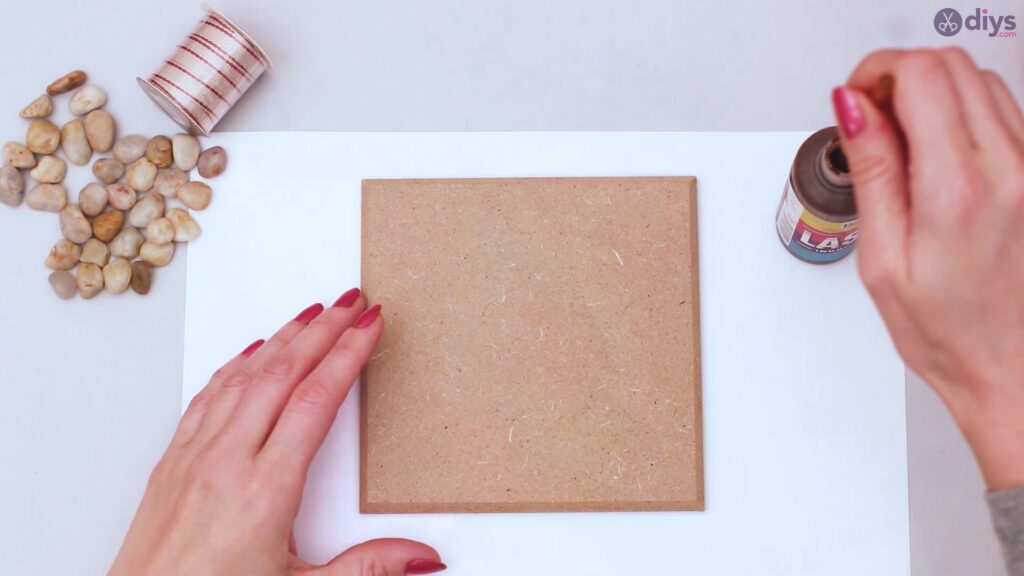
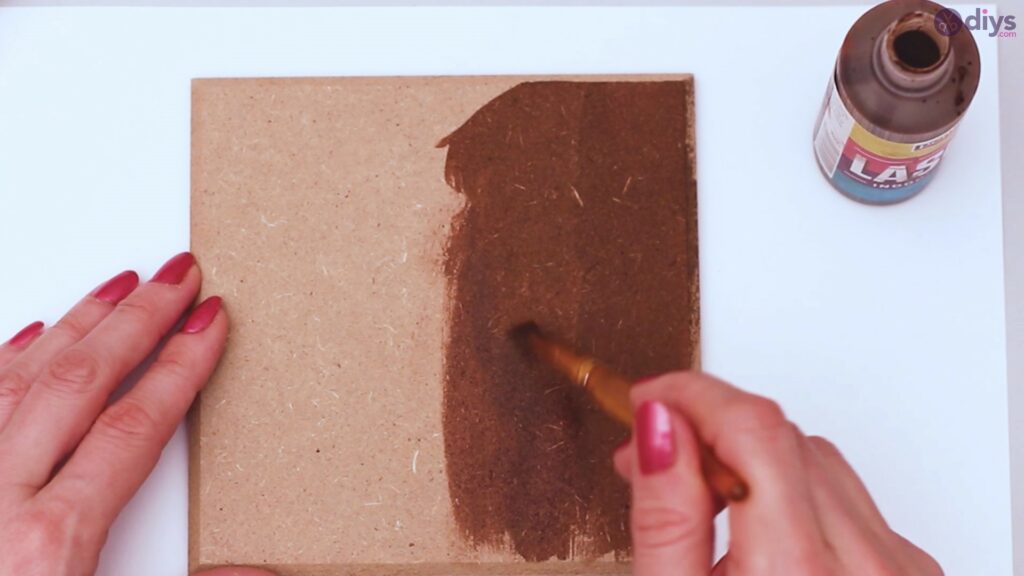
Grab your wooden board and your spot glaze. You can choose pretty much any size of board, depending on your preference, but I would recommend nothing smaller than an 8 inch square so you have plenty of wood for your heart. I think 12 inches may be even better, not too big, but big enough to have plenty of creative space.
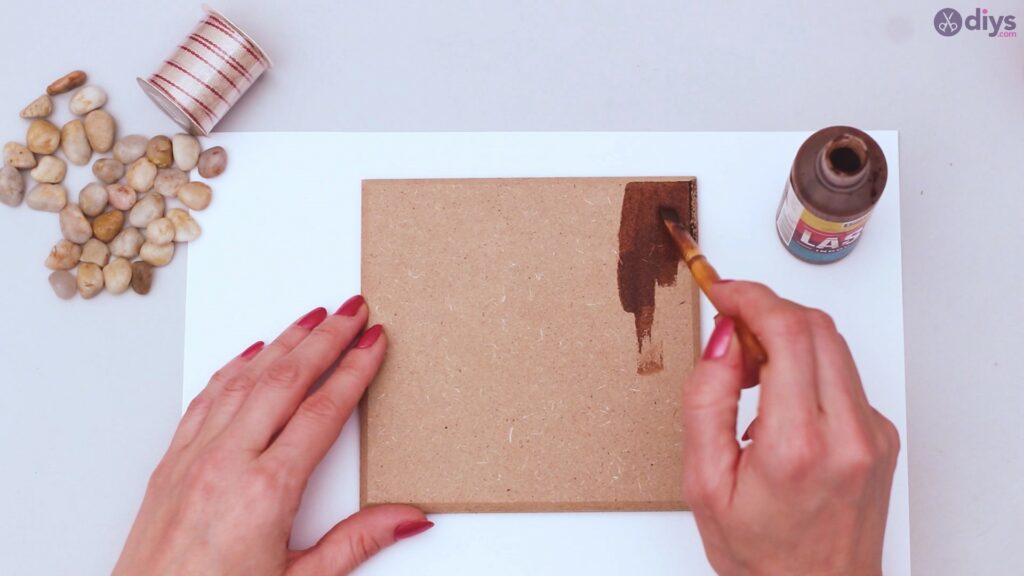
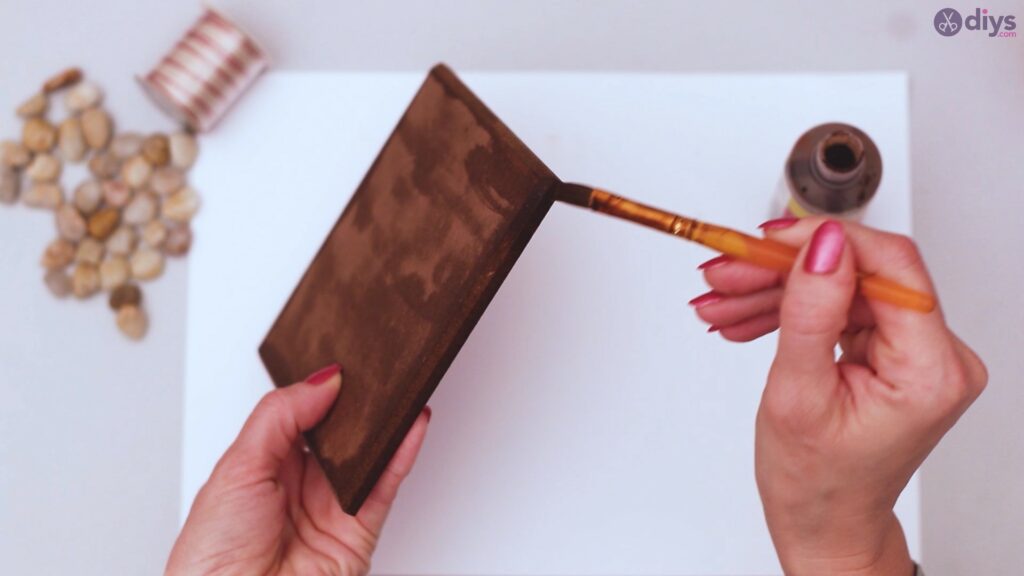
With your paintbrush, start to coat the side of the wood you’ll be working with, making sure you get a smooth, even layer that covers every inch of the board. If you keep it steady and even, you likely won’t need a second coat, which will save on the amount of glaze you use on the project.
Be sure to coat the sides, as well. You want consistency in your design, so you don’t want unfinished sides to distract you or anyone else from the overall design.
Step 2: Hanging
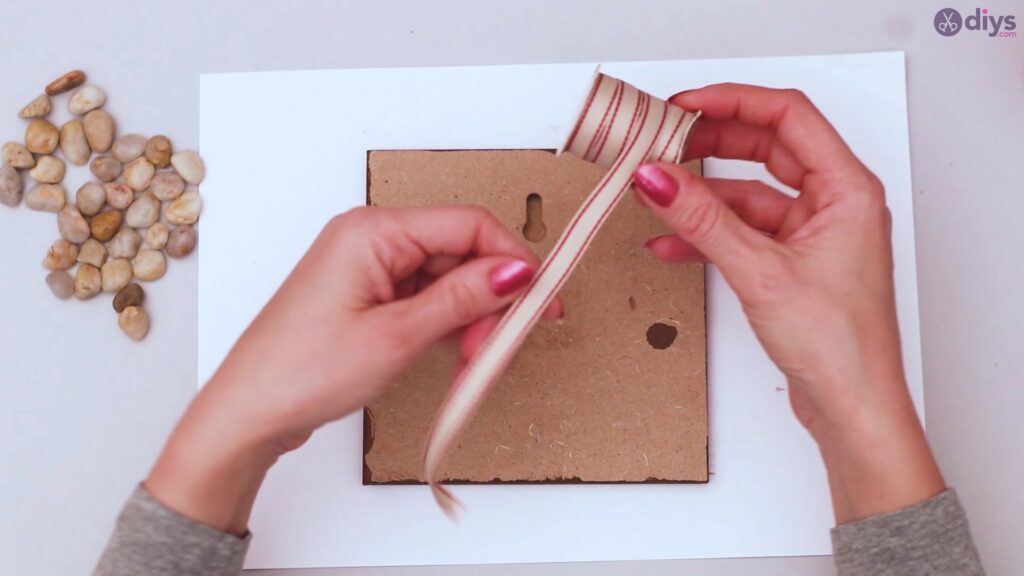
Before you do anything else, you’ll need to let the glaze dry so you don’t mess up the coats. Once it’s dry, flip it so you have it face down, and grab your ribbon. You can select any color or pattern you like. That’s the joy of freedom of expression in your arts and crafts project.
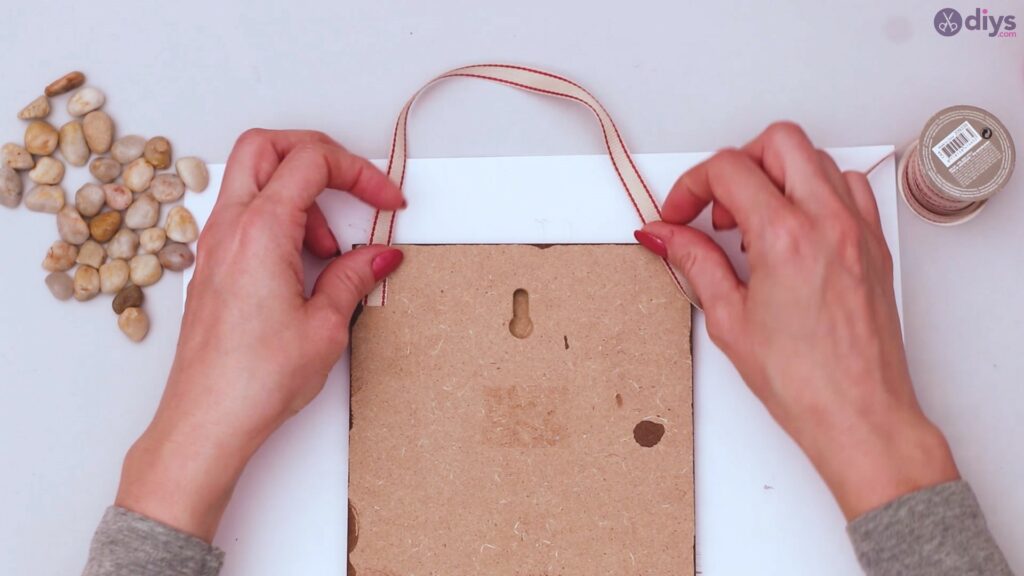
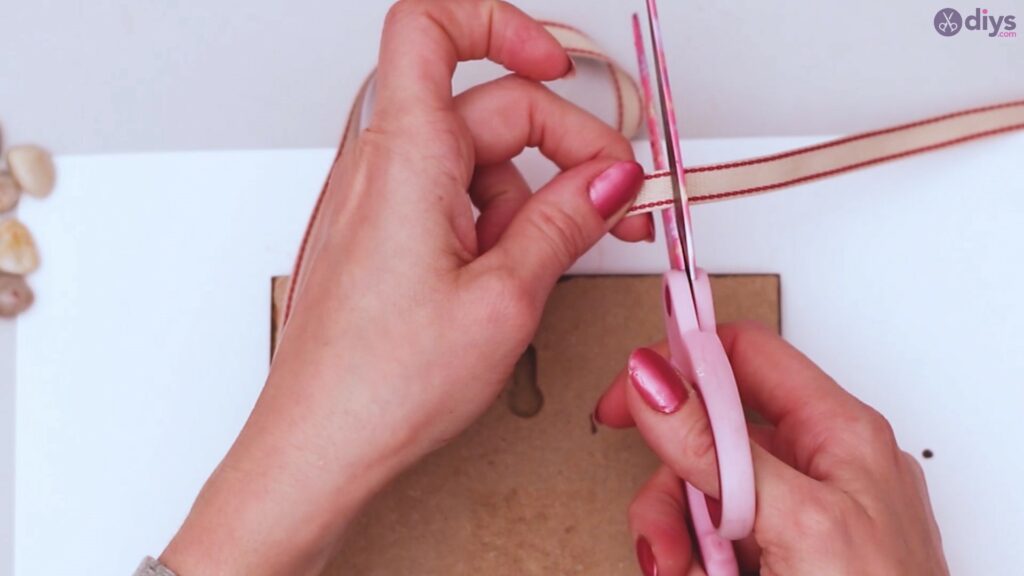
Measure out a loop of ribbon that starts from the top left corner and goes to the top right corner of your wood. Make sure the loop is long enough to mount it on the wall. I like mine to be about inches high, so I end up with a fairly long piece of ribbon.
Trim your ribbon to the proper length. You don’t really want any excess ribbon that could get in the way. Also, it’s best to cut the ribbon at an angle to avoid unraveling.
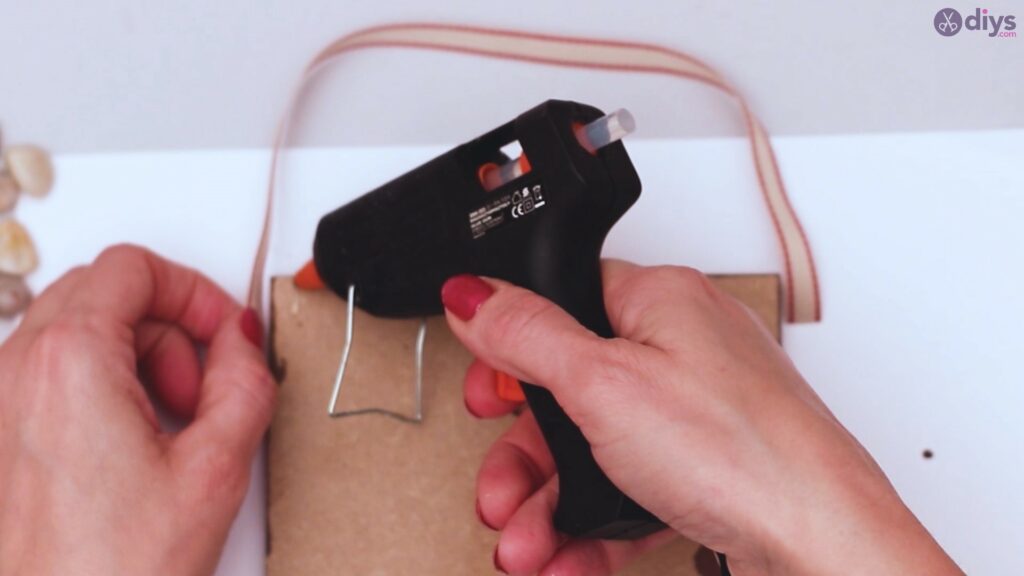
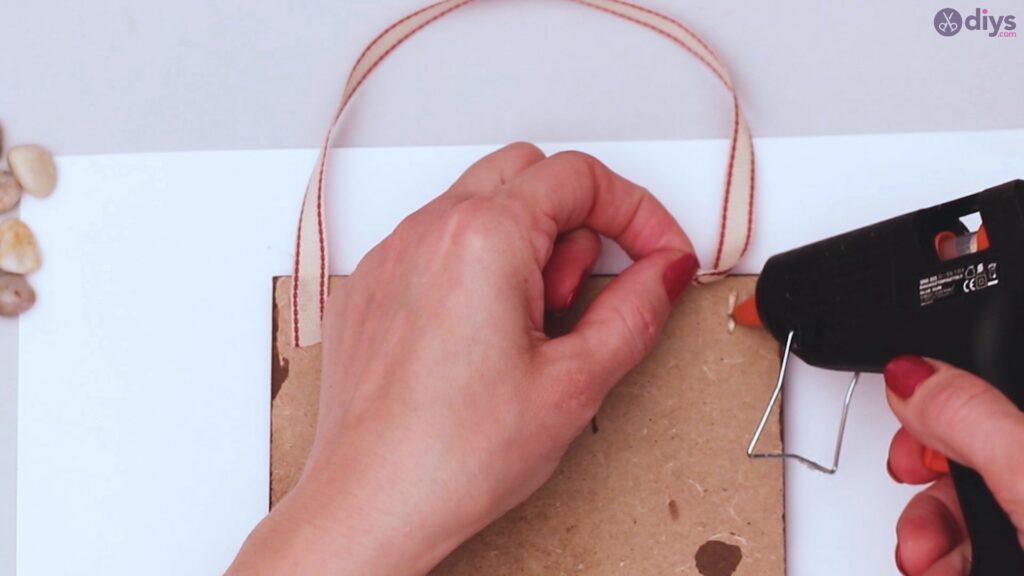
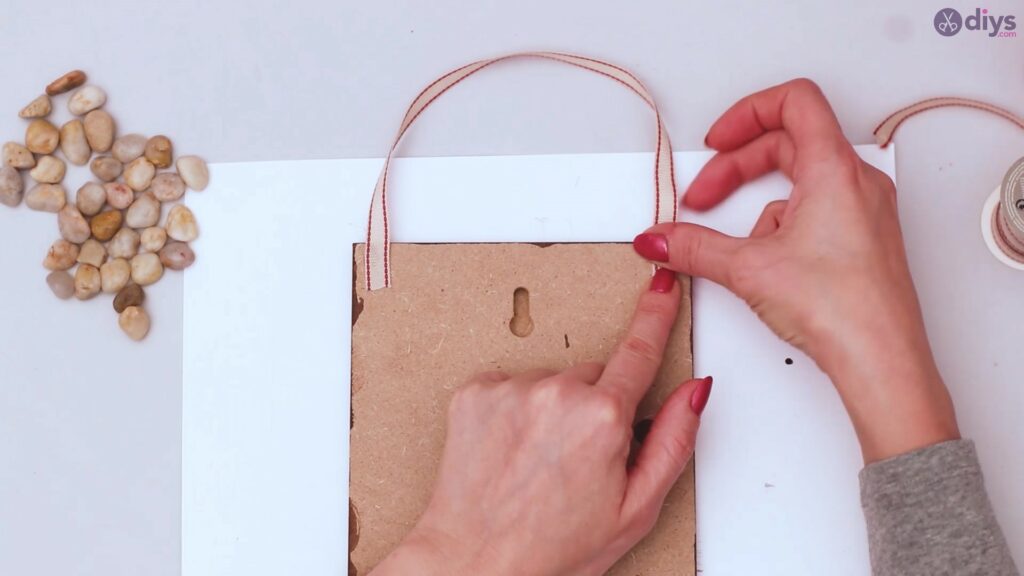
Using the hot glue gun, place a dot of glue on each of the top corners, and press the ends of the ribbon to those dots. They should dry quickly, allowing you to make sure they are properly attached so you can move on with your work.
Step 3: Draw your heart
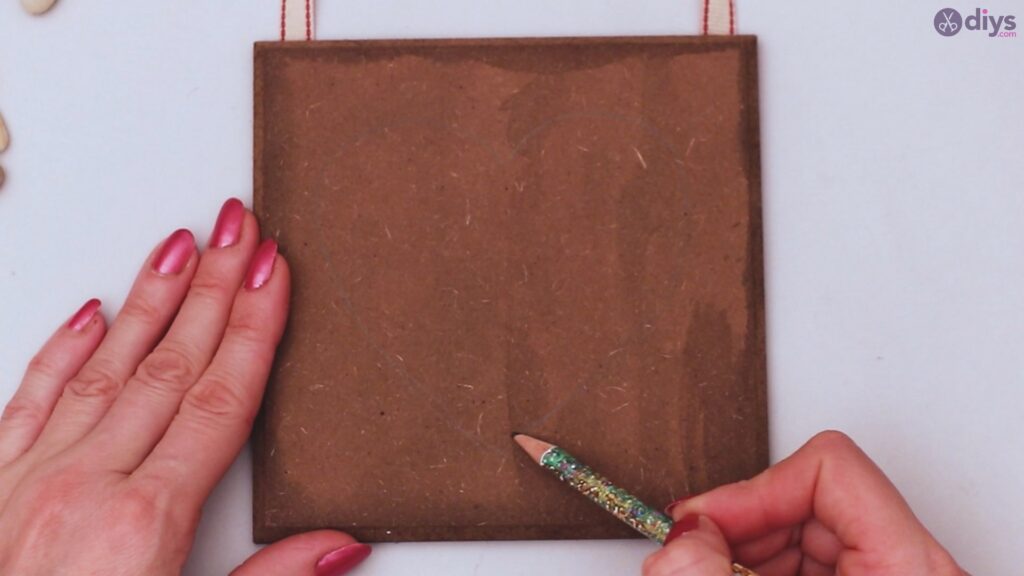
Now that your ribbon is attached for hanging, and the glaze is completely dry, you can move on to the next step. Turning your wood tile back over so you’re looking at the front, grab a pencil. Trace the shape of a heart, as centered as you can, lightly. The dark color of the glaze should help hide the graphite line, but you still want to be careful. At the same time, you want to be able to see it, however lightly.
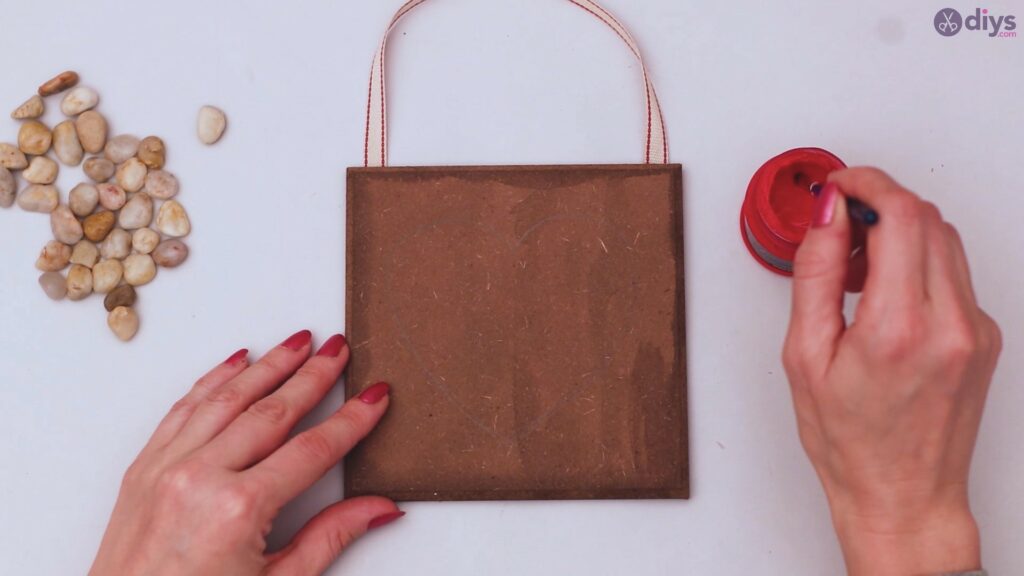
Get your red acrylic paint and paintbrush ready. If you’ve carefully washed the paintbrush you used for the glaze, it should work perfectly for this part of your project as well.
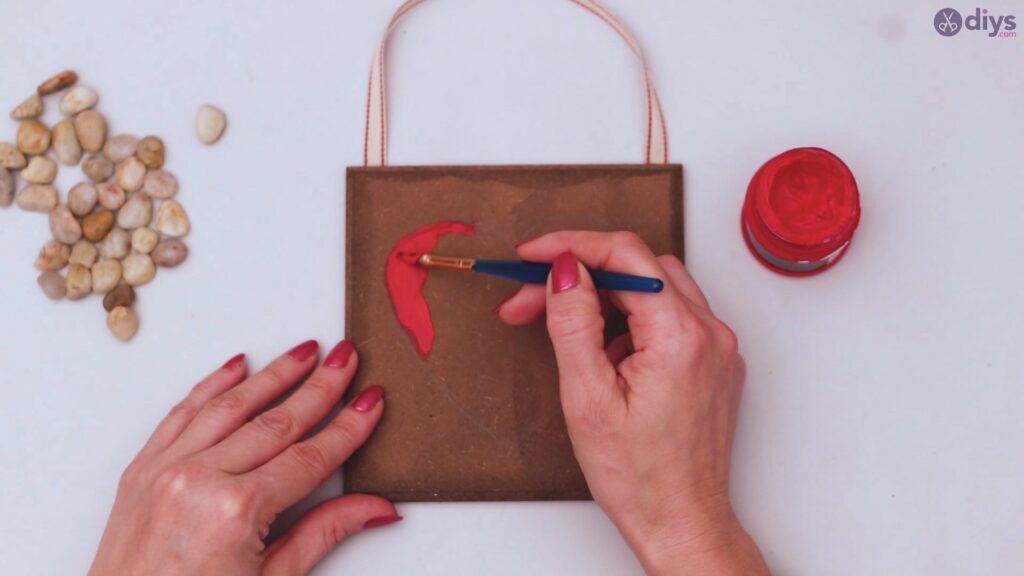
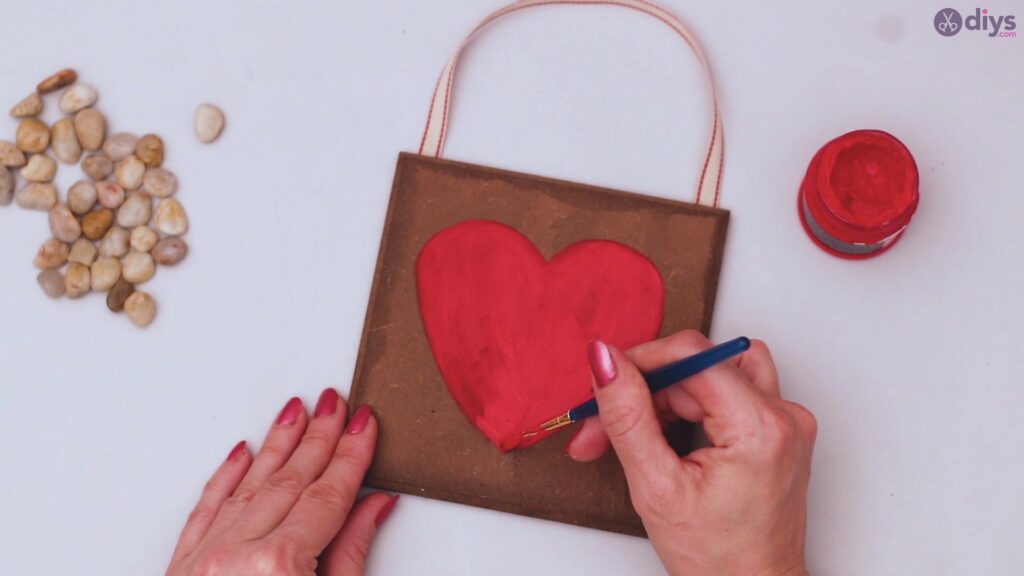
Using the lines you traced as a guide, fill in your heart with the red paint. Take your time and don’t rush. You not only want to be perfectly inside the lines with smooth edges, but you also want to have a sleek coat that doesn’t require a second pass, thick enough to have good coverage with color.
Step 4: Pebbles
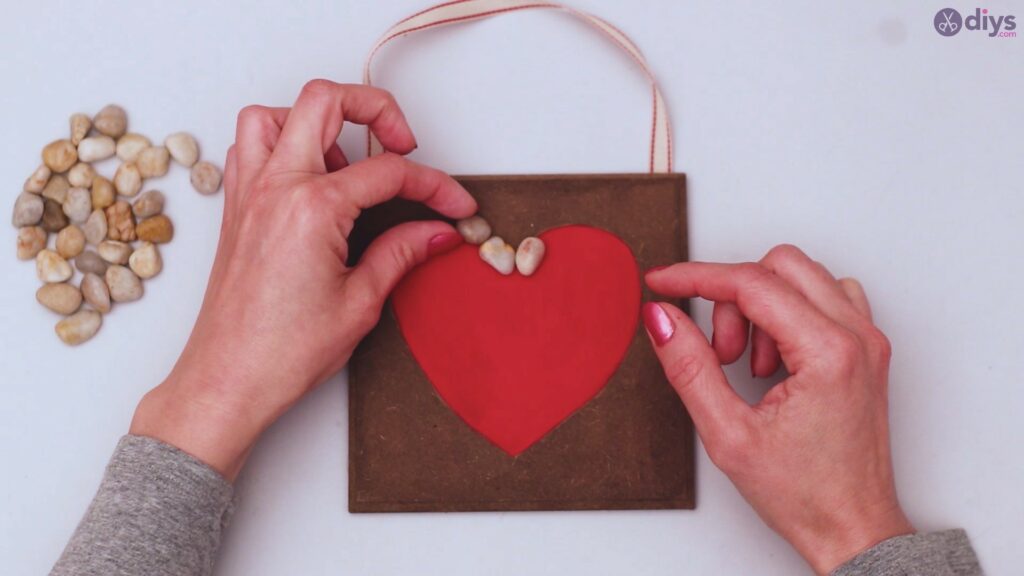
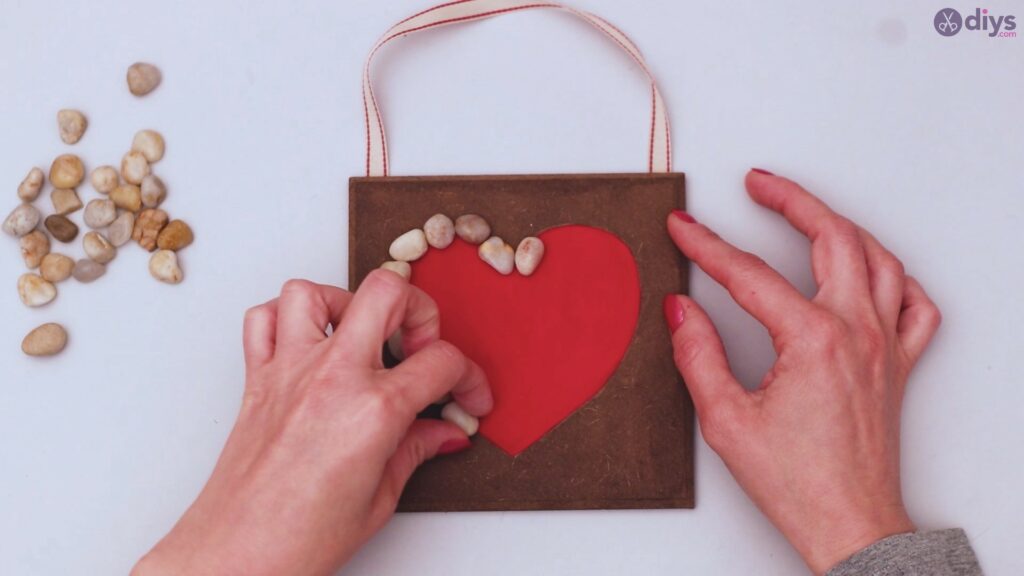
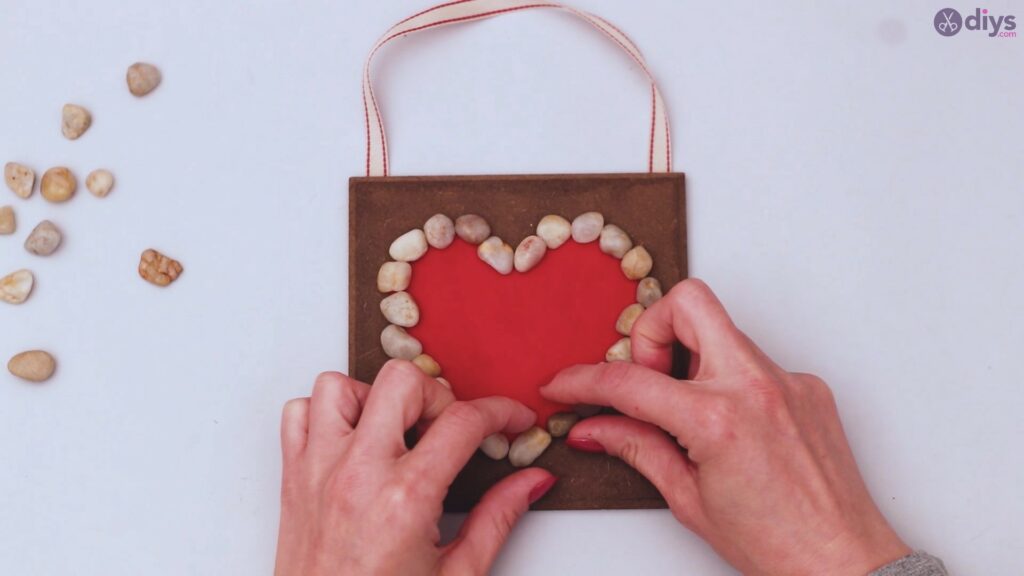
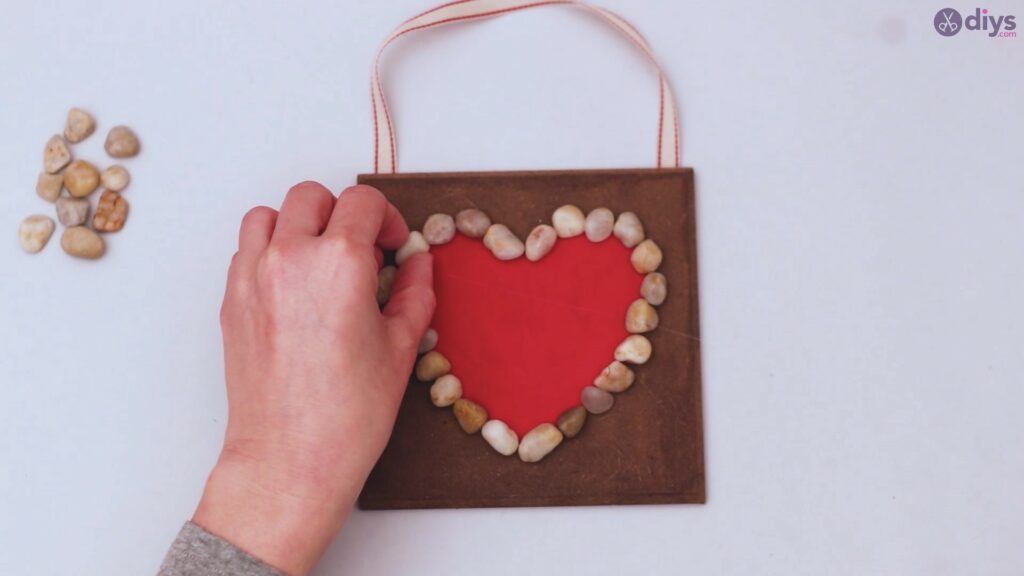
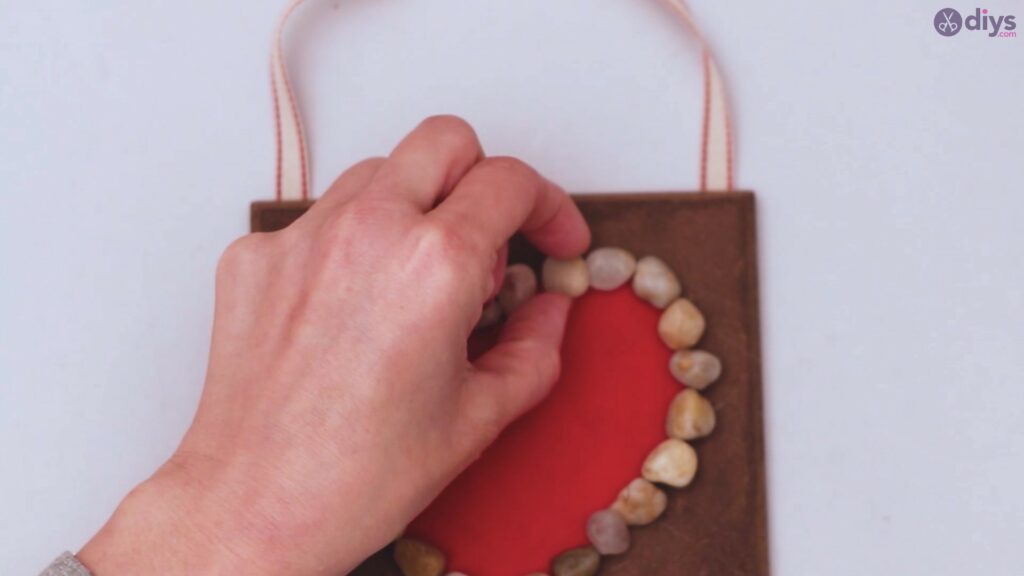
Take your pile of pebbles, and start outlining the heart with them. This could take several tries, since you’ll want to make sure it’s a perfect fit, with nice match ups of sides of the pebbles. That could take several tries. This is the part where you get to play around for a while and see what outcome you can manage. Eventually, you’ll have the right configuration and be satisfied.
When you’ve found that perfect layout that gives you the same beautiful heart you just painted, it’s time to make the design permanent.
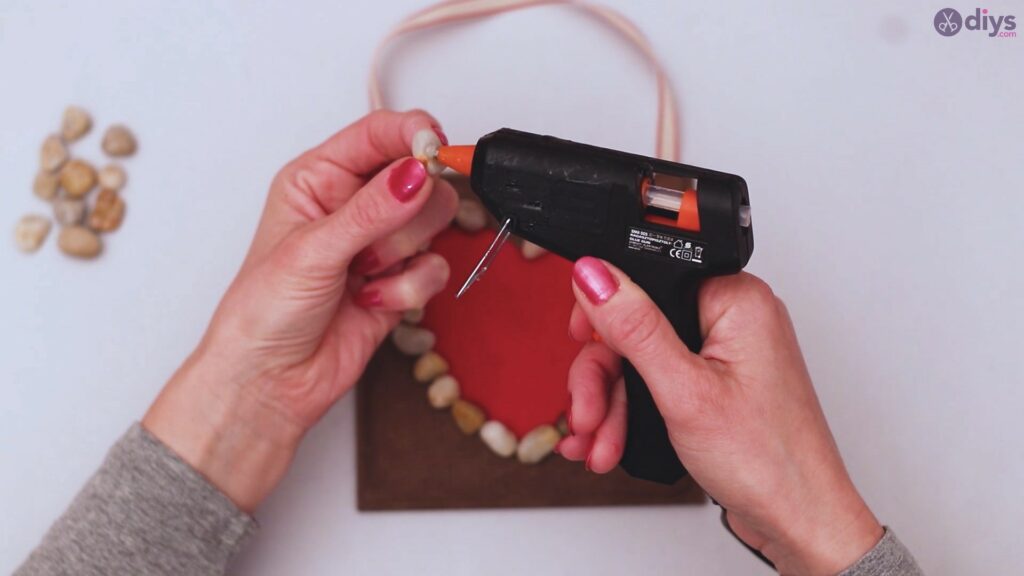
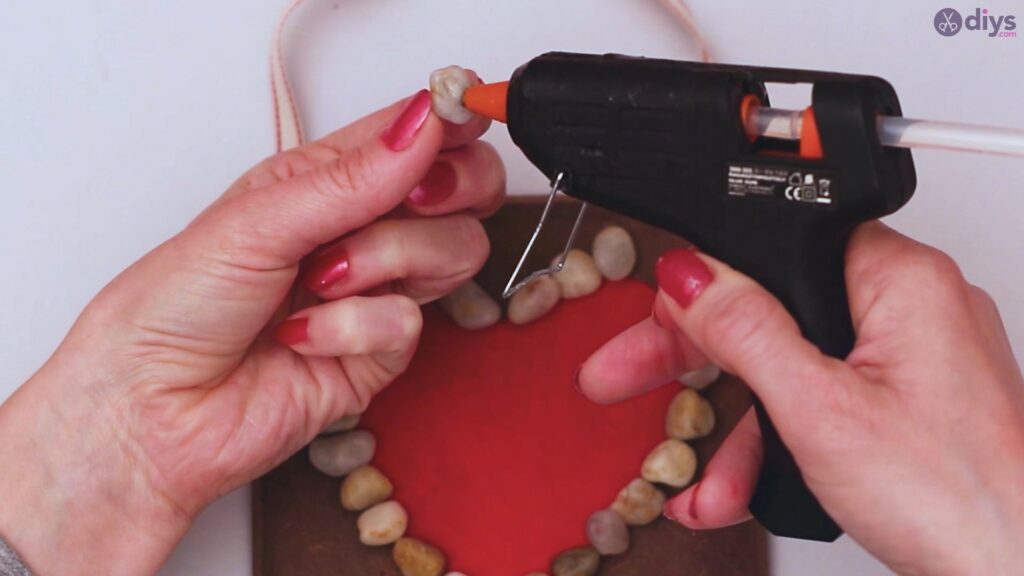
Using the glue gun, take your time and carefully remove one pebble at a time, putting a dot of hot glue directly to the pebble. Place that pebble back where it was, letting it settle as the glue dries quickly before moving another pebble. All of this will help keep your design in order and make sure you’ve got the ideal setup in the end.
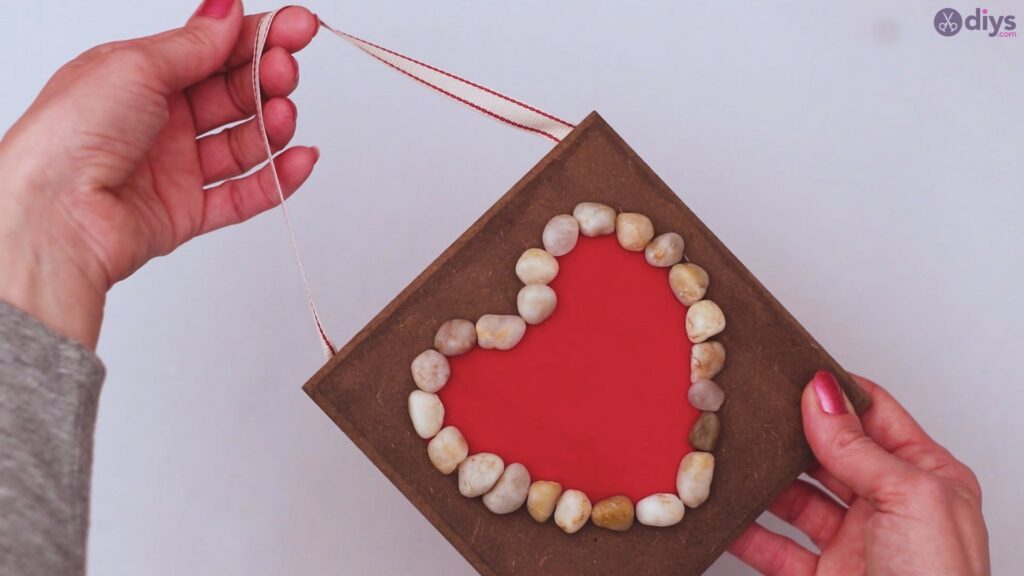
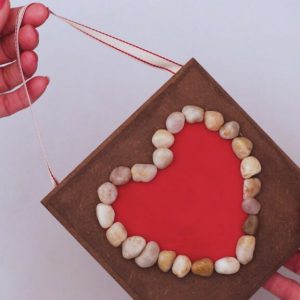
Your finished product should be quite appealing and should have that natural feel to it from using actual parts of nature to create the piece.
It’s ready to hang, wherever you like, in whatever room you feel it belongs based on your style and trends.
Taking the time to truly work out the lining of the pebbles is a lot like doing a puzzle, which makes that part extremely enjoyable for a lot of people, even those who don’t frequently get involved in arts and crafts. Because it’s not a difficult project, even if parts of it might take a little time and effort, it’s a great choice for newcomers or those who don’t have a lot of spare time to throw at a project. The result is something that incorporates nature at its core, while also showing off your skills for matching and for painting. Not everyone can get a lovely heart, especially if it has to be painted. This is something you can enjoy for many years and that you might even pass down to future generations as a reminder of you.
The post DIY Pebble Heart Wall Decor appeared first on DIYs.com.

